
Why Teams?
Teams, like Blackboard or Google Classroom, is a platform instructors can use as a learning management system (LMS). Unlike Google Apps which are little to no cost to students at any institution, Teams is most practical as an LMS option when your campus or system already subscribes to Microsoft 365 products.
Course Format
Teams is appropriate for use in remote, hybrid, flipped, or in-person courses. It works well with a range of class sizes and student feedback suggests that the availability of a user-friendly Teams mobile app increases student engagement with the platform, especially for interactive and searchable discussions.
As a higher education level instructor, I have used Teams in both in-person and remote courses. It is particularly useful for fostering community among students. Here is a quick guide to setting up your own classroom in Teams.
Logging in to Teams
Cleveland State University (CSU)
Use your CSU credentials to log in to Microsoft Teams. You may also access it through the CSU Webmail. To do so, sign into your email via MyCSU (https://mycsu.csuohio.edu/). When in your CSU email inbox, click on the square (made up of 9 small squares) in the upper left corner and choose Teams from the dropdown menu of resources. You will see our course team listed.
Non-CSU Users
Sign into your institution’s Teams platform or visit teams.microsoft.com
Basic Teams Classroom Setup
- Once logged in to Microsoft Teams, click on “Join or Create a Team”

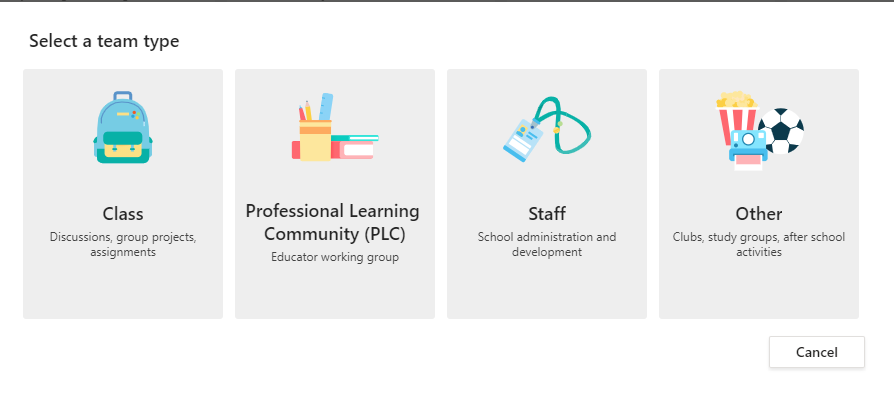
- Choose “Create a Team” and then at “Select Team Type” Choose “Class” (NOTE: For a Remote Office Hours Space you may want to choose “Professional Learning Community” or “Other”)
- As you create your own course team, think about findability for students. At CSU, I name my courses with a common formula: CSU, Course Prefix, Course Number & Semester. i.e. CSUHIS455F21. I also choose a thumbnail image for the Team that matches any other platforms I use in that course (such as Blackboard). For instance, in this Modern World History course, the Teams thumbnail matches the Open Educational Resource for the course https://pressbooks.ulib.csuohio.edu/modern-world-history/

- Once you create the Team, Teams will ask you to add people. Currently, there is not a smooth way to import students into Teams at CSU (there may be at other institutions). I add any instructors to the course (be sure to click on the “Teacher” tab before adding) and build the team before adding students. You can add instructors by ID number, last name etc.

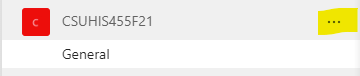
- After creating your team, you can customize it by clicking on the three dots next to the Team name and selecting “edit Team.”
- Add a thumbnail image by selecting “upload.”
Sharing Team Access with your Students
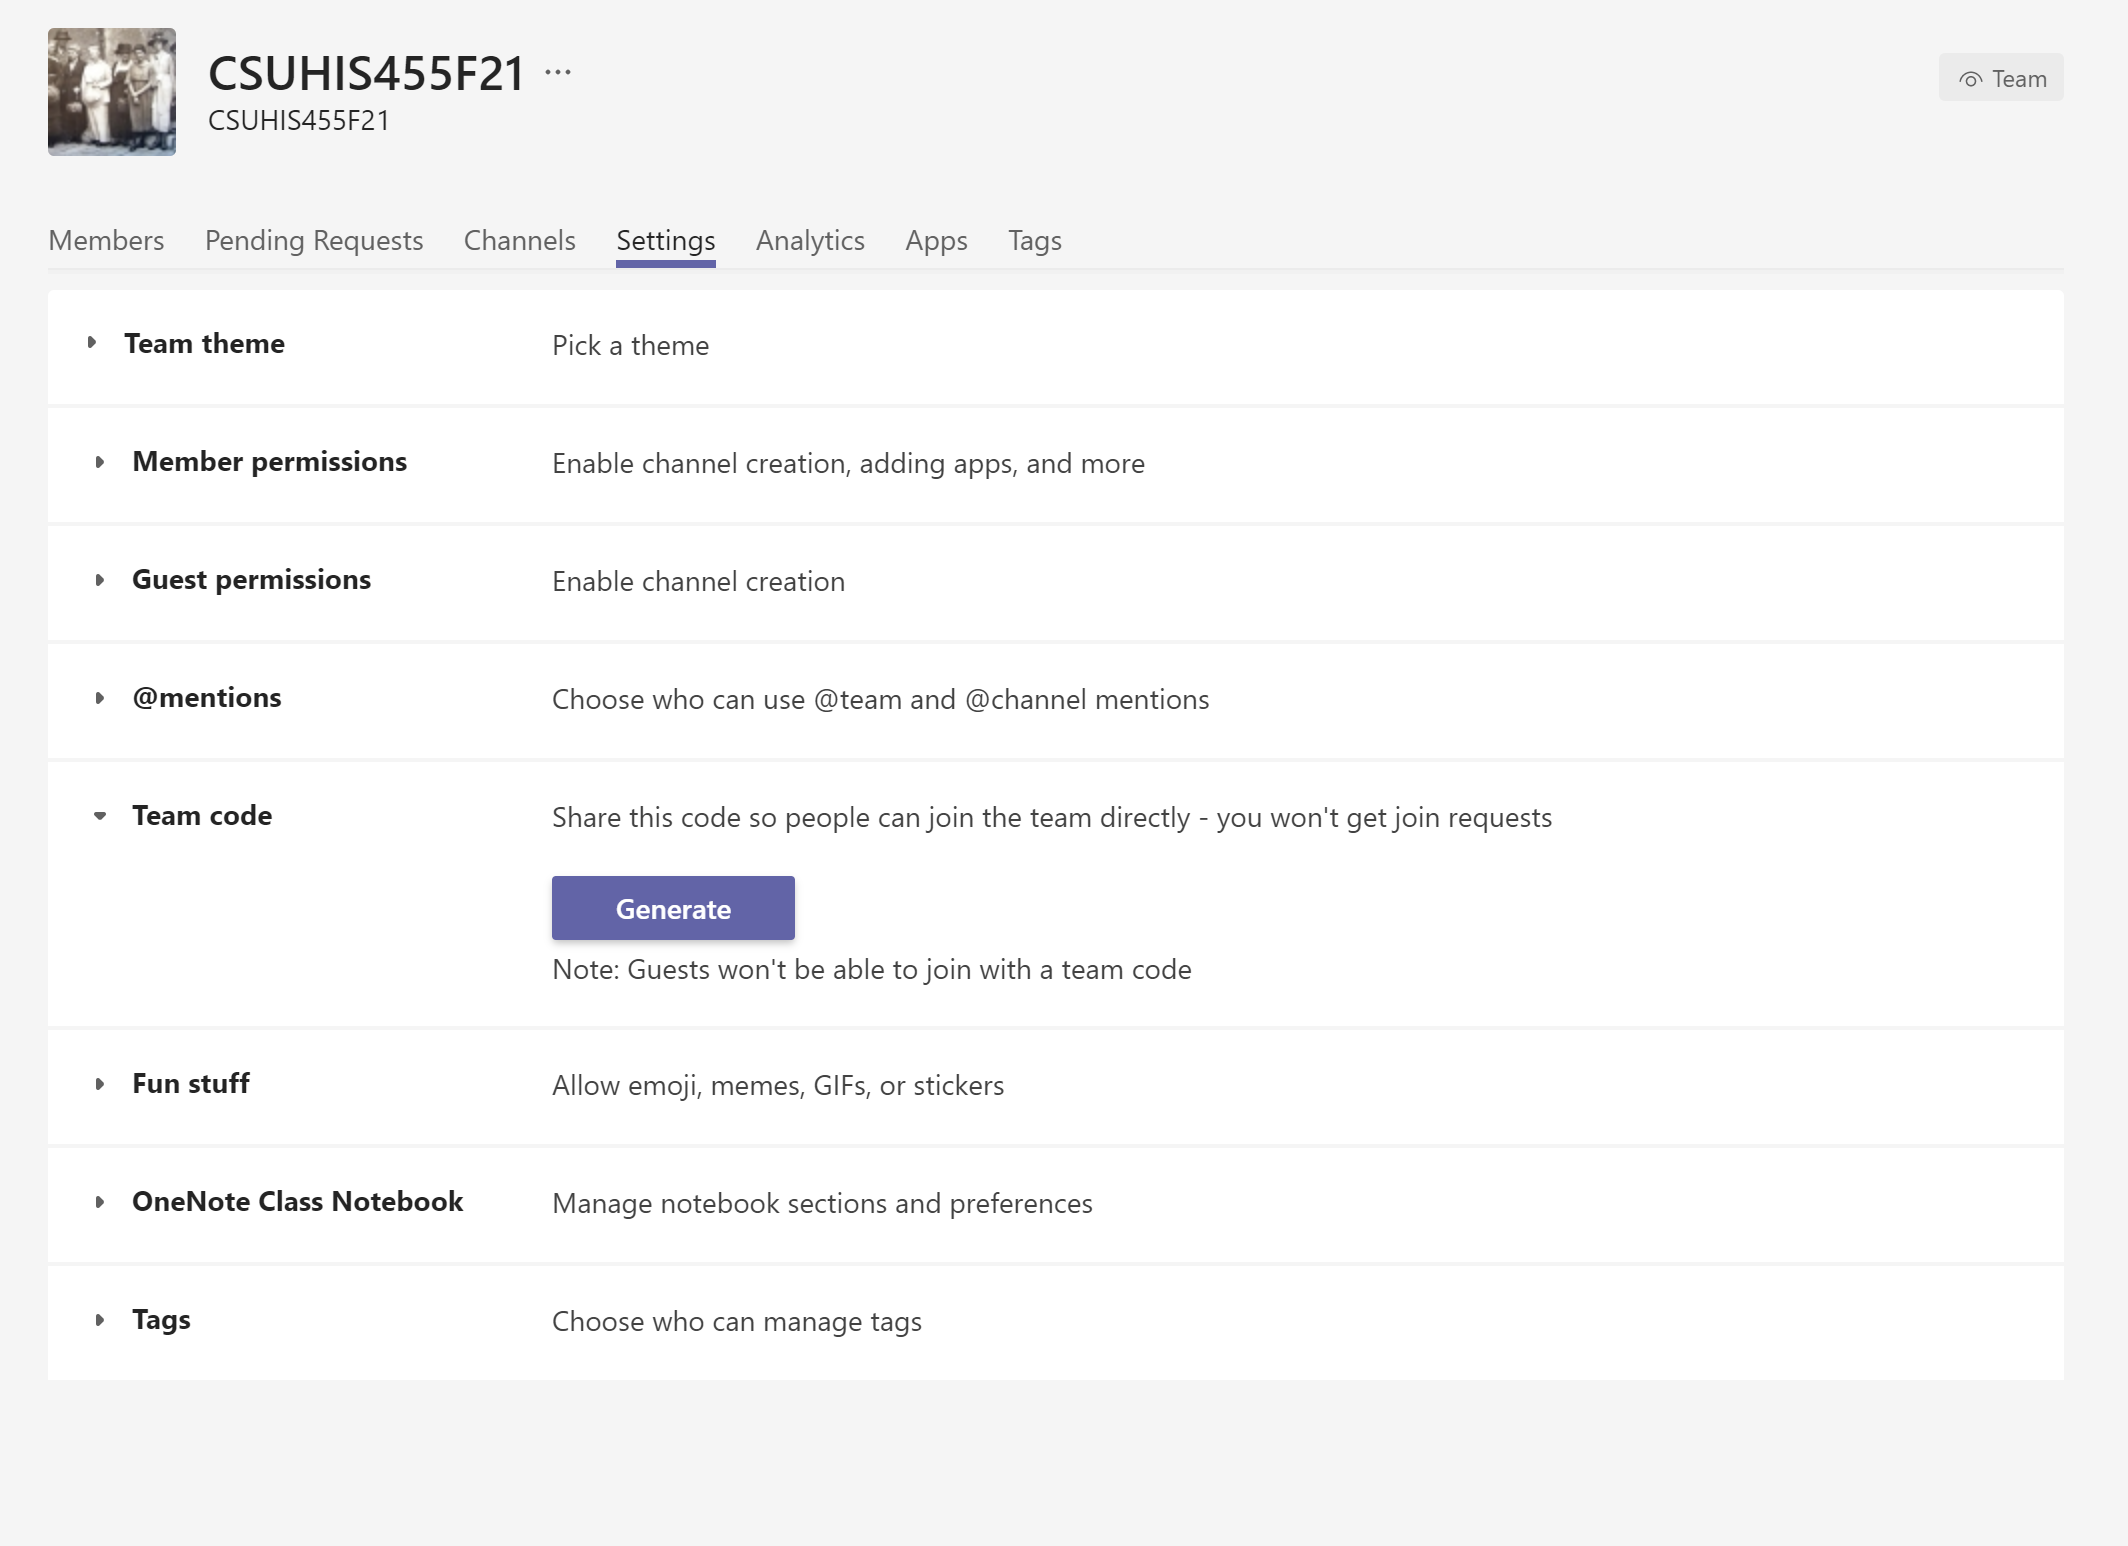
If you plan to use Teams in tandem with other LMS or platforms, or want students to add themselves to the Team, you can set a Team Code. Go to the three dots next to your Team name and choose “Manage Team.” Under “Settings” > “Team Code” you can generate a unique code for your Team to share with your student via email or LMS. Typically only students at your institution can add themselves to the Team. All guests must be added by the Team instructor.
Adding Content
The “Class” Teams type comes populated with tabs for Files (Sharepoint/OneDrive), Class Notebook (OneNote), Assignments, and Grades. You will not be able to remove these tabs from your Team. You can, however, add tabs (see adding Apps)
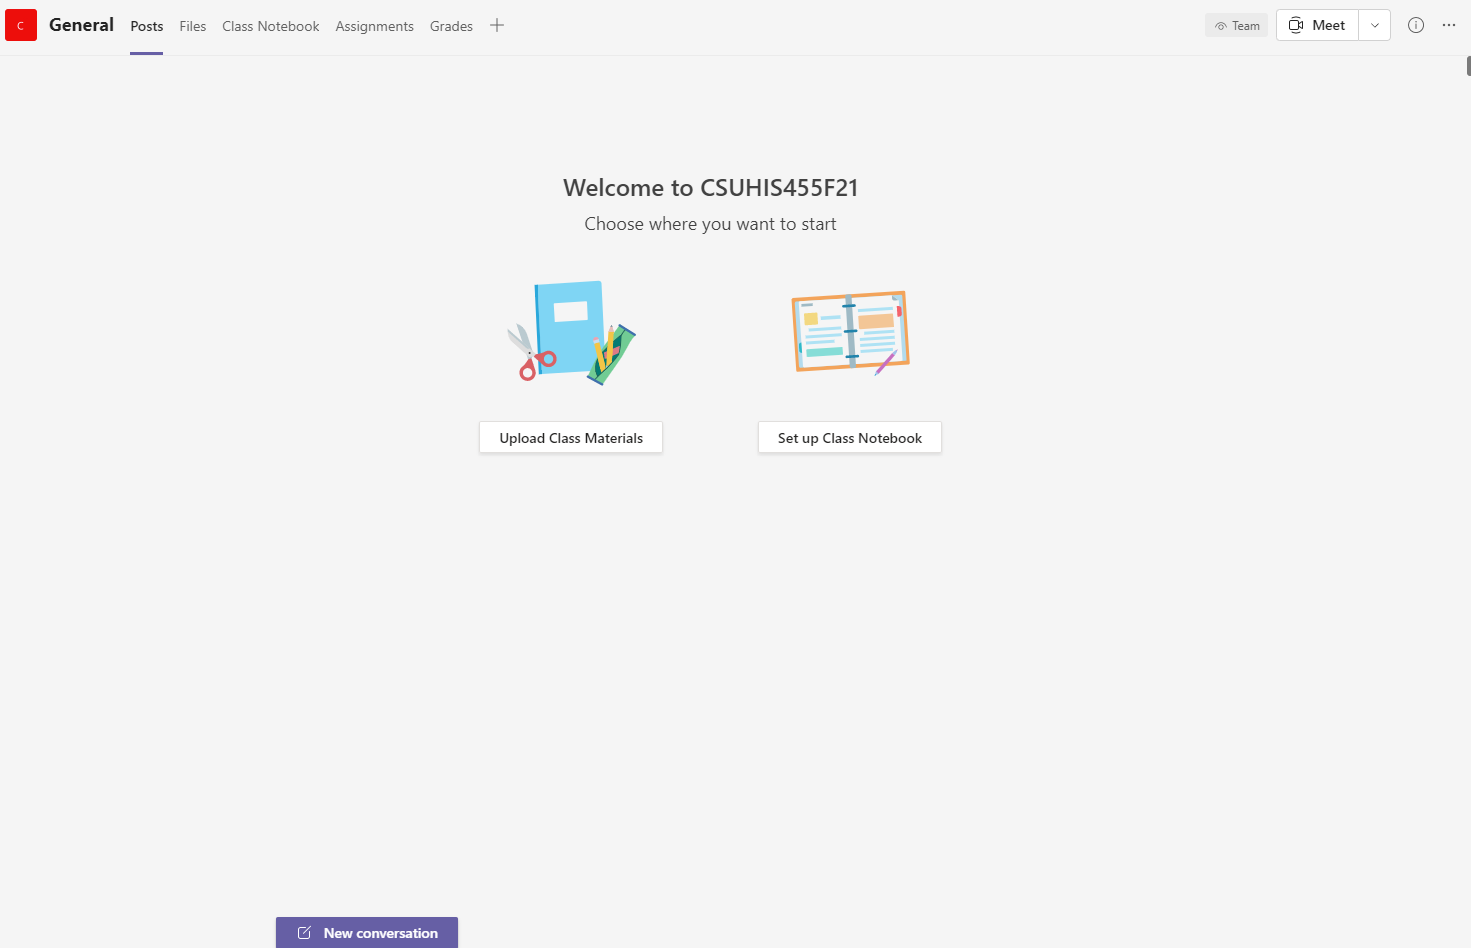
Upload Class Materials
The “Class Materials” folder is read only. This is the place to put your syllabus, course readings, etc. Students will be able to view your documents, but not edit them. Once you set it up, it will be available under the “Files” tab.
Set up a Class Notebook (optional)
Each Teams Class is linked to OneNote. You must set up the Class Notebook to activate the connection. You may choose to set up a blank notebook or integrate an existing OneNote notebook into the course.

The Class Notebook can serve as a hub for handouts, student work, etc. Students each have their own private notebook space that only the instructor and individual student can see. This can be a useful space for personalized and private feedback for students.
Notebook Startup
- Click next to proceed through the set-up steps.
- You will be asked to customize each student’s private notebook. This is useful if you want to distribute copies of assignments or activities to each student and have them edit their copy privately.
- Once the notebook has been created both instructor and students can interact with it in Teams or OneNote.

- Click on the stack of books in the upper left corner of the notebook and begin adding content. You may edit to customize for your course.
Adding Tabs
Add a Blackboard Login Tab
1. Click on “Add new Tab”
2. Select “Website.”
3. Provide the name and URL of the site. (Pro-Tip: Open the Blackboard Login page in an incognito or private browser window and then copy paste the URL to the login page)
Add a Syllabus Tab
1. Open the Files Tab and upload the Syllabus file in PDF (or Word) format if you have not done so already.
3. In the General Channel click on “Add New Tab”
4. Select the matching format PDF or Word file from the tiles.
5. Fill in the file name for your tab in the popup box.
6. Select the file you wish to populate the tab.
Add a Course Website or Ebook
1. Click on “Add new Tab”
2. Select “Website.”
3. Provide the name and URL of the site.
Discussion Spaces and Channels
- Each Team has its own channels to organize discussions & content. You may organize these channels however you like. The “General” channel cannot be removed and is the landing page for team members. You can post announcements here and create tabs that will be used for the course.
- Start a conversation to create a post in the channel. If you have a detailed message and want the formatting menu (similar to a word processor) click on the “A” symbol.
- Create new channels by clicking on the three dots next to the Team name or in the upper right corner of the Team window. Select “Add Channel.” Pro Tip: Teams always displays channels in alphabetical order after the General channel. Keep this in mind when you name your channels. You can rename channels at any time.
- You will be asked to set the privacy level of your channel. Channels Accessible to everyone on the team are “Standard.” At times, you may want to create “Private” channels for groupwork or for instructors only. Click Add to add your channel.
- For ease of use on the student side, be sure to check “Automatically show this channel in everyone’s channel list” so that it appears in their default menu. Otherwise the channel will be accessible, but hidden, from students.

- Each “Standard” channel has two default tabs: Files and Notes. The Files tab is connected to Sharepoint/OneDrive just like the main page. The Notes tab is connected to the collaboration space in Class Notebook. “Private” channels are not automatically linked to OneNote but you can add it as a tab.
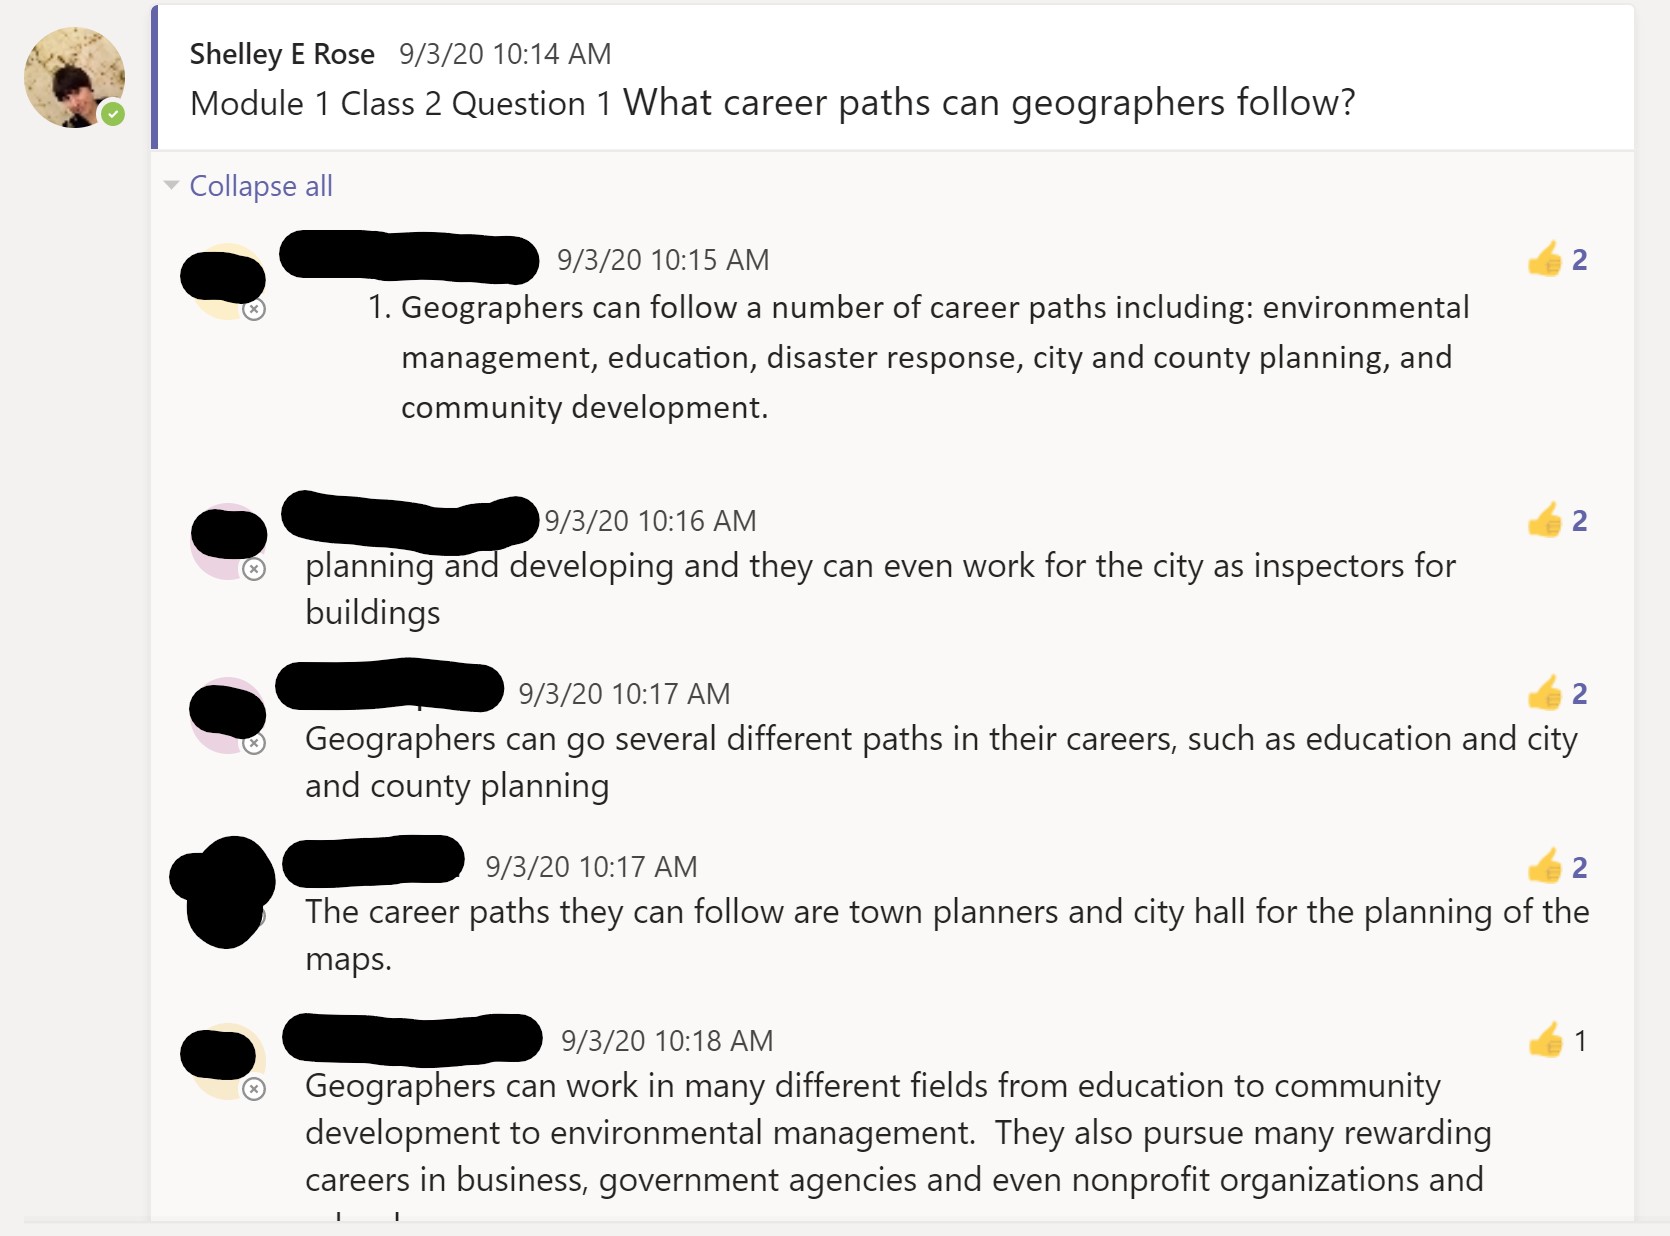
- Discussion channels are great for synchronous and asynchronous student discussions. They are also searchable for grading purposes. Here is a sample:
Adding Apps
One of the advantages to Microsoft Teams as a Classroom space is that it provides a single platform that links multiple apps. Common interactive educational apps like Flipgrid, Miro, NearPod and Pear Deck are can be integrated into the Team as tabs so students don’t have to leave the classroom and juggle multiple logins.
Adding Assignments
Instructors can administer assignments in the Teams Classroom. They will be linked to the “Grades” tab and can be graded in app. If you are using Blackboard or another LMS for your gradebook, these grades can be exported as a csv file.
- Click on the “Assignments” tab and then “create”
- Choose Quiz or Assignment
- Fill in the fields
Grades
If you use integrated Teams assignments the “Grades” tab will populate with assignments and allow you to comment.
You can also ignore the Grades tab and use the gradebook of your choice (Blackboard for example) When I surveyed students at the start of my courses, they preferred discussions in Teams and grading in Blackboard.
Individual Meetings with Students or Office Hours
You can also interact with students individually or in groups in the “Chat” section of Teams (see left general menu). This means they can message you on the app or in the web version and you can respond to individual questions privately but in the context of the Teams platform
Other Uses for MS Teams
Remote Office Space
I also use MS Teams to set up my remote office space. This space is team type “Other” and open to all Teams users at my organization (CSU). That way any one in my campus community can “stop by.”
Visit my office: https://bit.ly/RoseOffice
Department Advising Center (Class Type)
During emergency remote learning all department functions moved online as well. That included major advising. As a result, we set up a remote advising center using the Class type in Teams. Using the Class type provided us with the default Class Notebook . The individual notebooks became the private advising “file folders” for each student.
Department Resource Center (Professional Learning Community)
Our graduate assistants staff the History Resource Center. They transformed this student resource for assignment assistance and writing help to remote environment using Microsoft Teams PLC type.
Teams Resources
Cleveland State University
Video: Setting up Your Classroom or Office in Microsoft Teams
CSU Teams Resource Page: https://www.csuohio.edu/messaging-services/teams
Microsoft Teams CSU Test Classroom: http://bit.ly/CSUTeamsTestClassroom
General
Introduction to Microsoft Teams: https://education.microsoft.com/en-us/resource/d5b62e3e